User Management in Alooba
Efficient user management is pivotal to optimizing talent acquisition and fostering effective collaboration within your organization. Alooba's platform offers you a robust system to ensure everyone involved from your Hiring and L&D Teams are positioned to contribute effectively. In this support article, we will guide you on how to manage users effectively, ensuring a seamless candidate selection process and efficient collaboration.
Why Efficient User Management Matters in Alooba
Efficient user management in Alooba is pivotal for maximizing collaboration and harnessing the full potential of the platform. Here's why expanding your team within Alooba matters:
- Embrace Data-Driven Hiring: Bringing in more team members ensures that data-driven insights permeate every layer of your hiring decisions, promoting consistency and quality in your recruitment process.
- Maximized Collaboration: By adding more users, teams can pool their insights and expertise, leading to better decision-making in the assessment process.
- Streamlined Operations: Assigning specific roles ensures users access only what they need, making operations smoother and more efficient.
- Data Protection: Safeguard sensitive candidate data by controlling who can view and modify it.
- Promote Accountability: More users mean better tracking and accountability, which can lead to continuous improvement and growth.
The essence of data-driven hiring is making informed, unbiased decisions that lead to superior hiring outcomes. By inviting more of your team members to join Alooba, you spread this invaluable ethos across your organization, making the most of the platform’s collaborative and analytical features.
Accessing User Management
- Log in to your Alooba account.
- On the left side navigation pane, under the "Organization" section, click on "Users." This will redirect you to the Manage Users page.

Access to user management is restricted to Owner and Admin roles. If you don't see the "Users" option in your navigation, you'll need to connect with an Admin within your organization to request to add other users.
Adding New Users
If your organization uses Single Sign-On (SSO) for user authentication, please refer to our Managing Users with Single Sign-On (SSO) Enabled in Alooba article for guidelines specific to your setup.
If your organization is not using SSO, Owner and Admin users can follow the following steps to add a new user to your account:
-
On the Manage Users page, click the "+ Add User" button located at the top right.

The "+ Add User" button on the Manage Users page -
The Add User modal will appear. Fill in the required fields: First Name, Last Name, and Email.

The Add User modal - The Phone Number is optional. However, including it is necessary if you intend to enable Multi-Factor Authentication (MFA) for the user.
- Choose the appropriate permission level from the available options: Admin, Standard, and Restricted.
- Optionally, you can assign the user to one or more existing groups. To learn more about creating and managing groups, please refer to our article on Creating & Managing Groups.
- Once you've filled in the details, click on "Add User".


Check out our article on what users can expect after being invited.
User Permissions Explained
Alooba provides four distinct user levels:
- Owner: Owners have full access to all assessments, candidates, and settings.
- Admin: These users have access to their groups' assessments and candidates. They also have full access to user management and organizational settings.
- Standard: Standard users can access their groups' assessments and candidates.
- Restricted: Restricted users can only access candidates they personally invited.
For more information on user roles and permissions, please refer to our User Roles and Permissions in Alooba article.
Editing User Details
- Locate the user you wish to edit from the user listing.
- Click on the action icon on the right of the user's row.
-
Select "Edit" from the dropdown.

Edit action option in the users table -
Modify the phone number, permissions, or associated groups as needed.

Update User Modal - Click "Save" or "Update."


Note: You cannot edit a user's first name, last name, or email address. Also, if a user has the "Owner" status, their permissions cannot be modified.
Deleting Users
If your organization uses Single Sign-On (SSO) for user authentication, please refer to our Managing Users with Single Sign-On (SSO) Enabled in Alooba article for guidelines on revoking access specific to your setup.
If your organization is not using SSO, Owner and Admin users can follow the following steps to remove users from your account:
- Locate the user you wish to delete from the user listing.
-
Select the "Delete" option from the action menu on the right of the user's row.

Delete action option in the users table -
A confirmation modal will appear.

User deletion confirmation modal - Confirm the deletion by clicking the "Remove User" button.


Note: While you can recreate a deleted user, if you accidentally delete a user it may be possible to restore a user by lodging a request through your account manager.
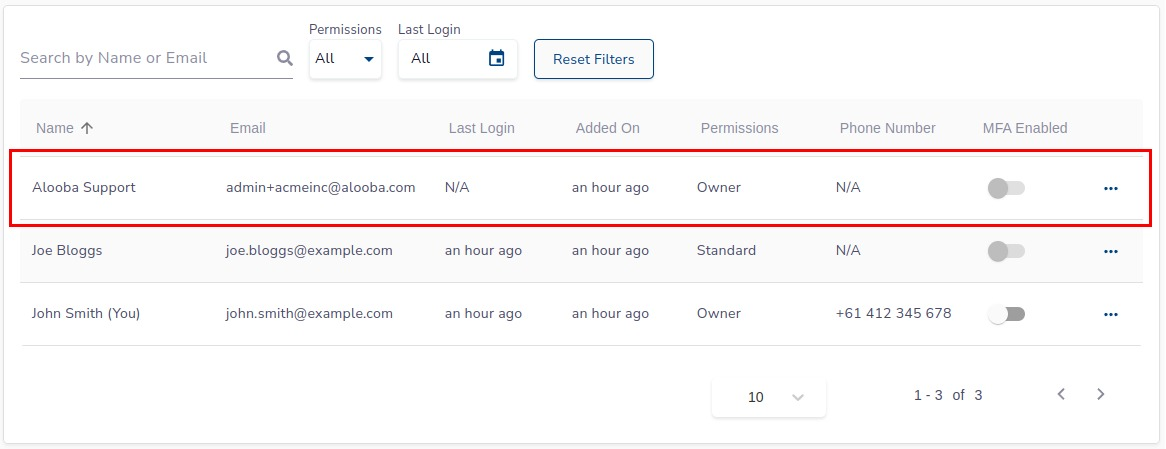
The Alooba Support User
For each new account set up on Alooba, an Alooba Support user is automatically created. This allows our support staff to access your organization whenever assistance is needed, ensuring prompt resolution to your queries or issues. The Alooba Support user has the same permissions as the account Owner and is used exclusively for support purposes.
Wrapping Up
Managing users efficiently on Alooba can significantly streamline your organization's assessment and collaboration processes. By ensuring the right people have the appropriate access and permissions, you'll be in a prime position to maximize the potential of the Alooba platform.
Should you encounter any issues or have further questions, don't hesitate to reach out to us or refer to our extensive range of support articles.