Managing Users with Single Sign-On (SSO) Enabled in Alooba
Single Sign-On (SSO) is a service that allows a user to access multiple applications with one set of credentials. If your organization has SSO enabled for Alooba, the user management process differs slightly from the standard method, ensuring a seamless experience of managing access to applications across your organization.
Using SSO for Alooba is not only about security and ease of access but also about effective coordination with your IT team. The integration requires consistent communication between your Alooba admin and IT personnel to ensure that the right users have access to Alooba.
Setting Up SSO
If you haven't set up SSO for Alooba yet, you can follow the guidelines provided in our support article: Active Directory SSO Setup. If you're using a different SSO provider you should reach out to your Alooba account manager about a potential integration with your SSO provider.
Steps for Adding Users with SSO
- Grant Access through your SSO System: Before a user can access Alooba using SSO, they must be granted the necessary permissions within your organization’s SSO system. This task typically falls under the jurisdiction of your IT team.
-
First Login: Once a user has been granted access, they can log into Alooba using their SSO credentials. Their Alooba user entry will be automatically created during this initial login.
Default Permissions for SSO Users: Users who are added to Alooba via SSO will currently be assigned default permissions. By default, these users will be set as Admin users, which means they have access to their groups' assessments and candidates as well as full access to user management and organizational settings.
- Modifying User Permissions and Groups: After the user has been added to Alooba through SSO, their permissions and groups can be modified if needed. The process to modify the user remains the same as with non-SSO users, as defined in the User Management article. However, note this can only be done once they've logged into Alooba for the first time so that their Alooba user record is created.
Revoking User Access with SSO
Once a user has been granted access to Alooba through your SSO system, you may revoke the user's access at any time by removing their access to Alooba within your SSO system. Once their access has been revoked within your SSO system they will no longer be able to log in and any active sessions will automatically be terminated within 10 minutes.
Logging in with SSO
After setting up SSO any user that attempts to log in to Alooba with an email address from the domain(s) included in the setup will be prompted to log in through the configured SSO provider.
Troubleshooting
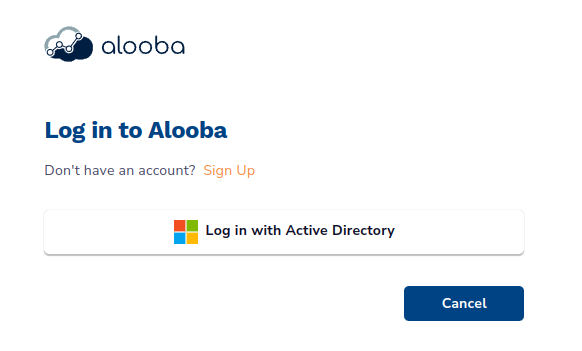
Don't see the "Log in with Active Directory" button
If a user tries to log in to Alooba using their work email address and doesn't see the above "Log in with Active Directory" button, then most likely the SSO configuration is incomplete. Contact your IT administrator team and ask them to review the SSO integration and make sure that all of your company's email domains are included in the configuration.

No access to Alooba
A user most likely hasn't been granted access to Alooba within the SSO provider if they try to log in to Alooba using SSO, and after logging in to Active Directory they see a message similar to this:
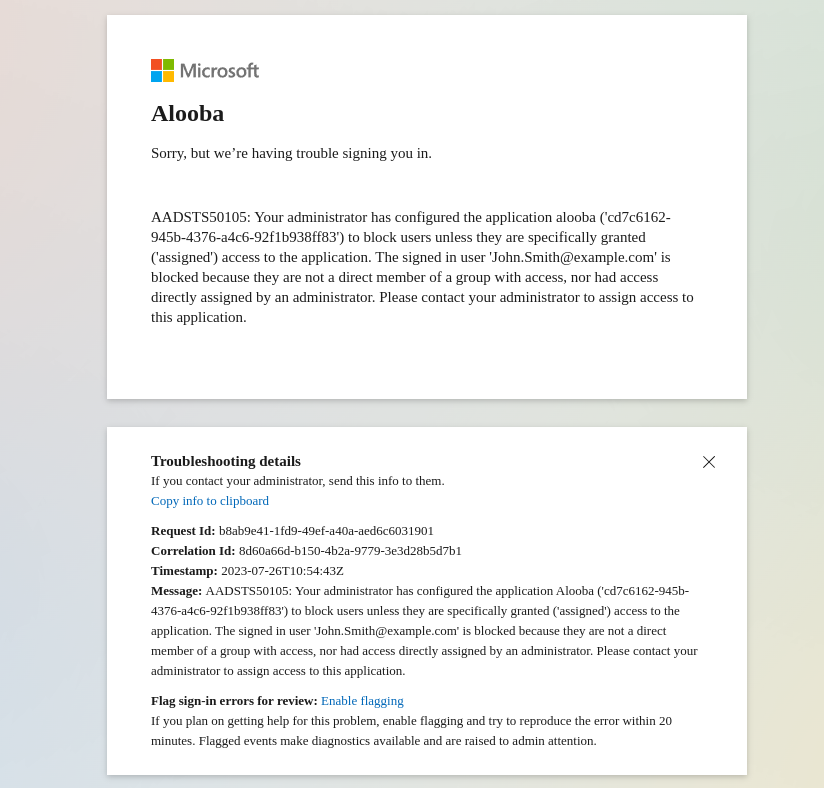
In this case, your IT team should be notified and requested to add the user to the Alooba enterprise application with Active Directory, either directly or by adding the user to a group that has access to the Alooba enterprise application in Active Directory.
Things to Remember
- Coordination is Key: Engaging with your IT team is essential when setting up or making changes to users in an SSO environment. Keep them in the loop to ensure that access permissions are granted or revoked as per your requirements.
- First Time Setup: The first time a user logs into Alooba with their SSO credentials is critical, as it establishes their presence within the platform. Ensure they follow the proper login protocol to avoid any potential issues.
- Adjusting Permissions: Always review and adjust permissions as needed to ensure users have the correct permission level and group access that aligns with their role and responsibilities.
Using SSO with Alooba optimizes your user management process, enhancing security and simplifying the user experience. With SSO, you’re not just getting an authentication process but a coordinated approach to managing your team members on Alooba.